How-To Guide 14
How to add frame reflections to device mockups.
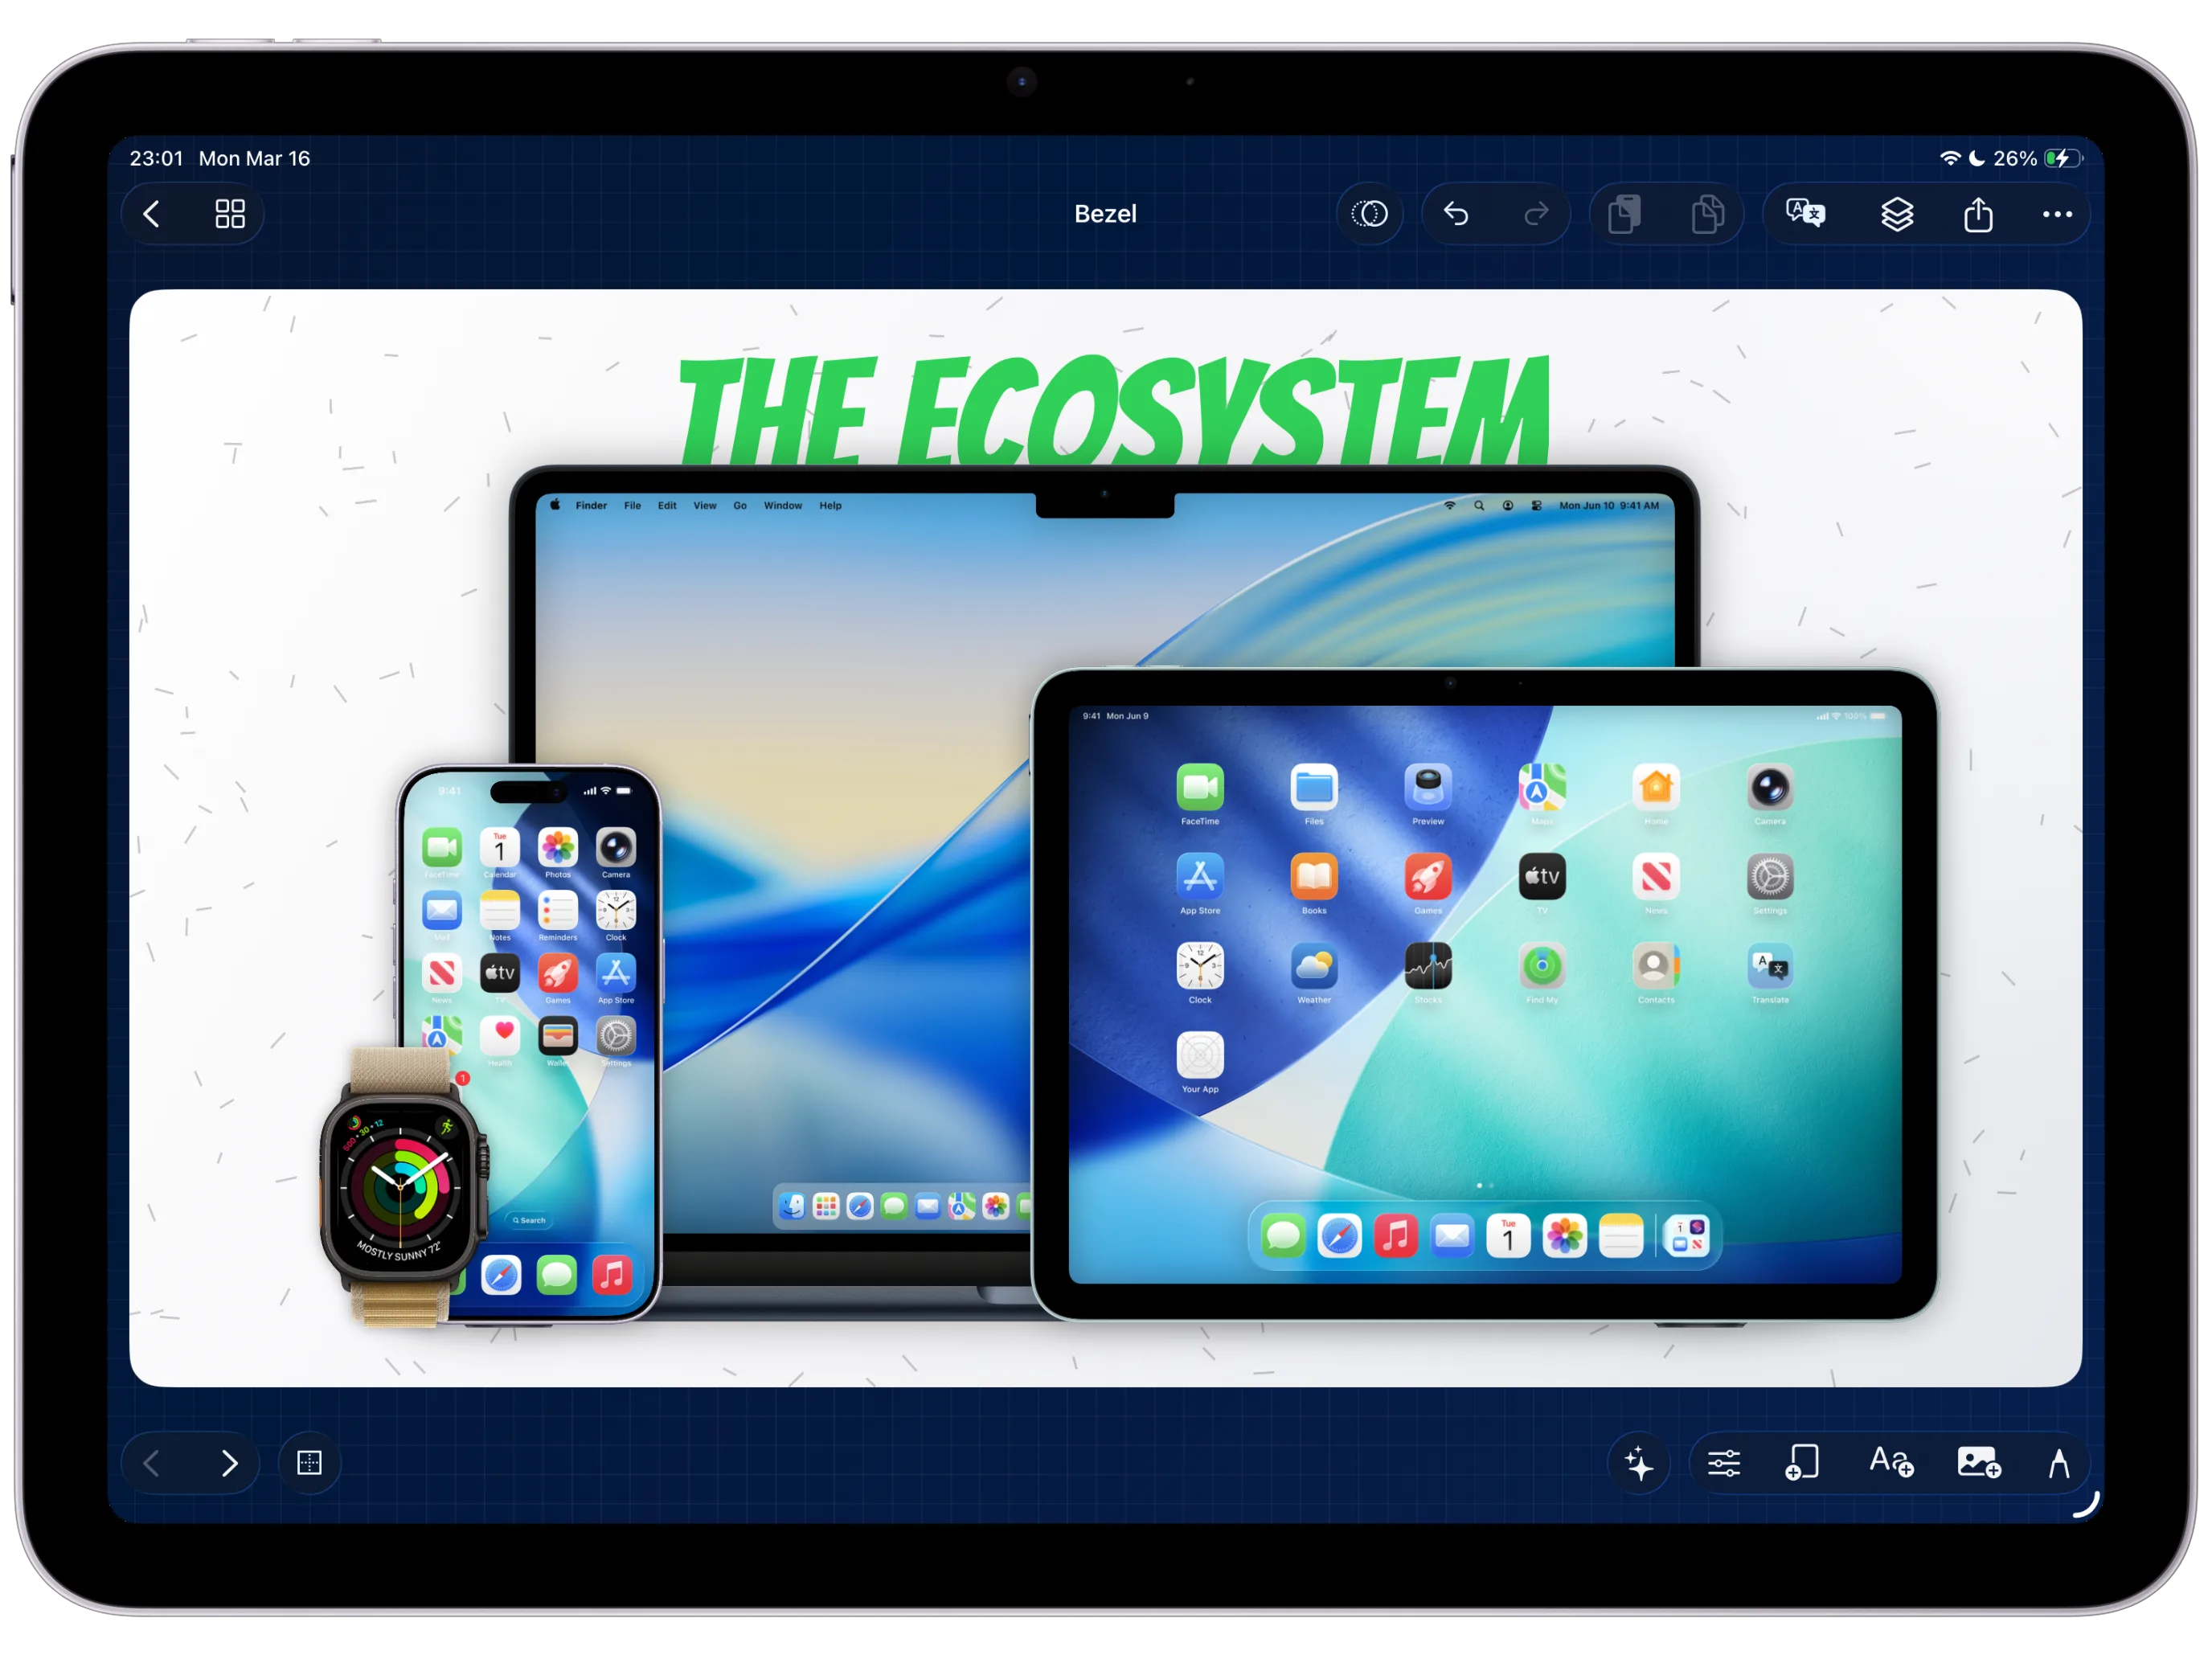
Use this workflow when a framed screenshot is already clear, but the scene needs more depth and a stronger product-shot feel.
Step 01
Start with a polished device frame.
Reflection works best after the screenshot, frame, background, and caption placement already feel stable.
Screenshot To Add
Canvas with the completed frame before reflection is enabled.
Step 02
Enable Show Reflection in frame editing.
Turn on the frame reflection so Bezel Studio mirrors the device mockup below the frame.
Screenshot To Add
Frame edit sheet with Show Reflection enabled.
Step 03
Tune blur, opacity, and fade.
Use blur to soften the reflection, opacity to set strength, and fade to control how quickly it disappears from the canvas.
Screenshot To Add
Reflection controls showing blur, opacity, and fade.
Step 04
Balance the surface shadow.
The shadow should ground the frame, not become a dark shape. Keep it subtle enough that the app screenshot remains the main focus.
Screenshot To Add
Before/after reflection strength comparison.
Step 05
Export the final still or motion asset.
Reflection state belongs to the frame overlay, so keep the final export in Bezel Studio to preserve the same depth treatment.
Screenshot To Add
Final export preview with reflection visible.
Open the app and add reflection depth from the same frame editor.