How-To Guide 01
How to create your first App Store screenshot project on iPhone.
This is the cleanest starting point for the product. The docs make it clear that everything else grows from the same project model: frame, size, background, overlays, and export all stay editable after creation.
What You'll Build
One clean screenshot canvas with a device frame, background treatment, headline, and export-ready output.
What You'll Use
Project creation, default frame selection, canvas sizing, background styling, text overlays, and still export.
Screenshot Plan
Use 1 result image, 1 setup image, 4 process images, and 1 export image for the final article.
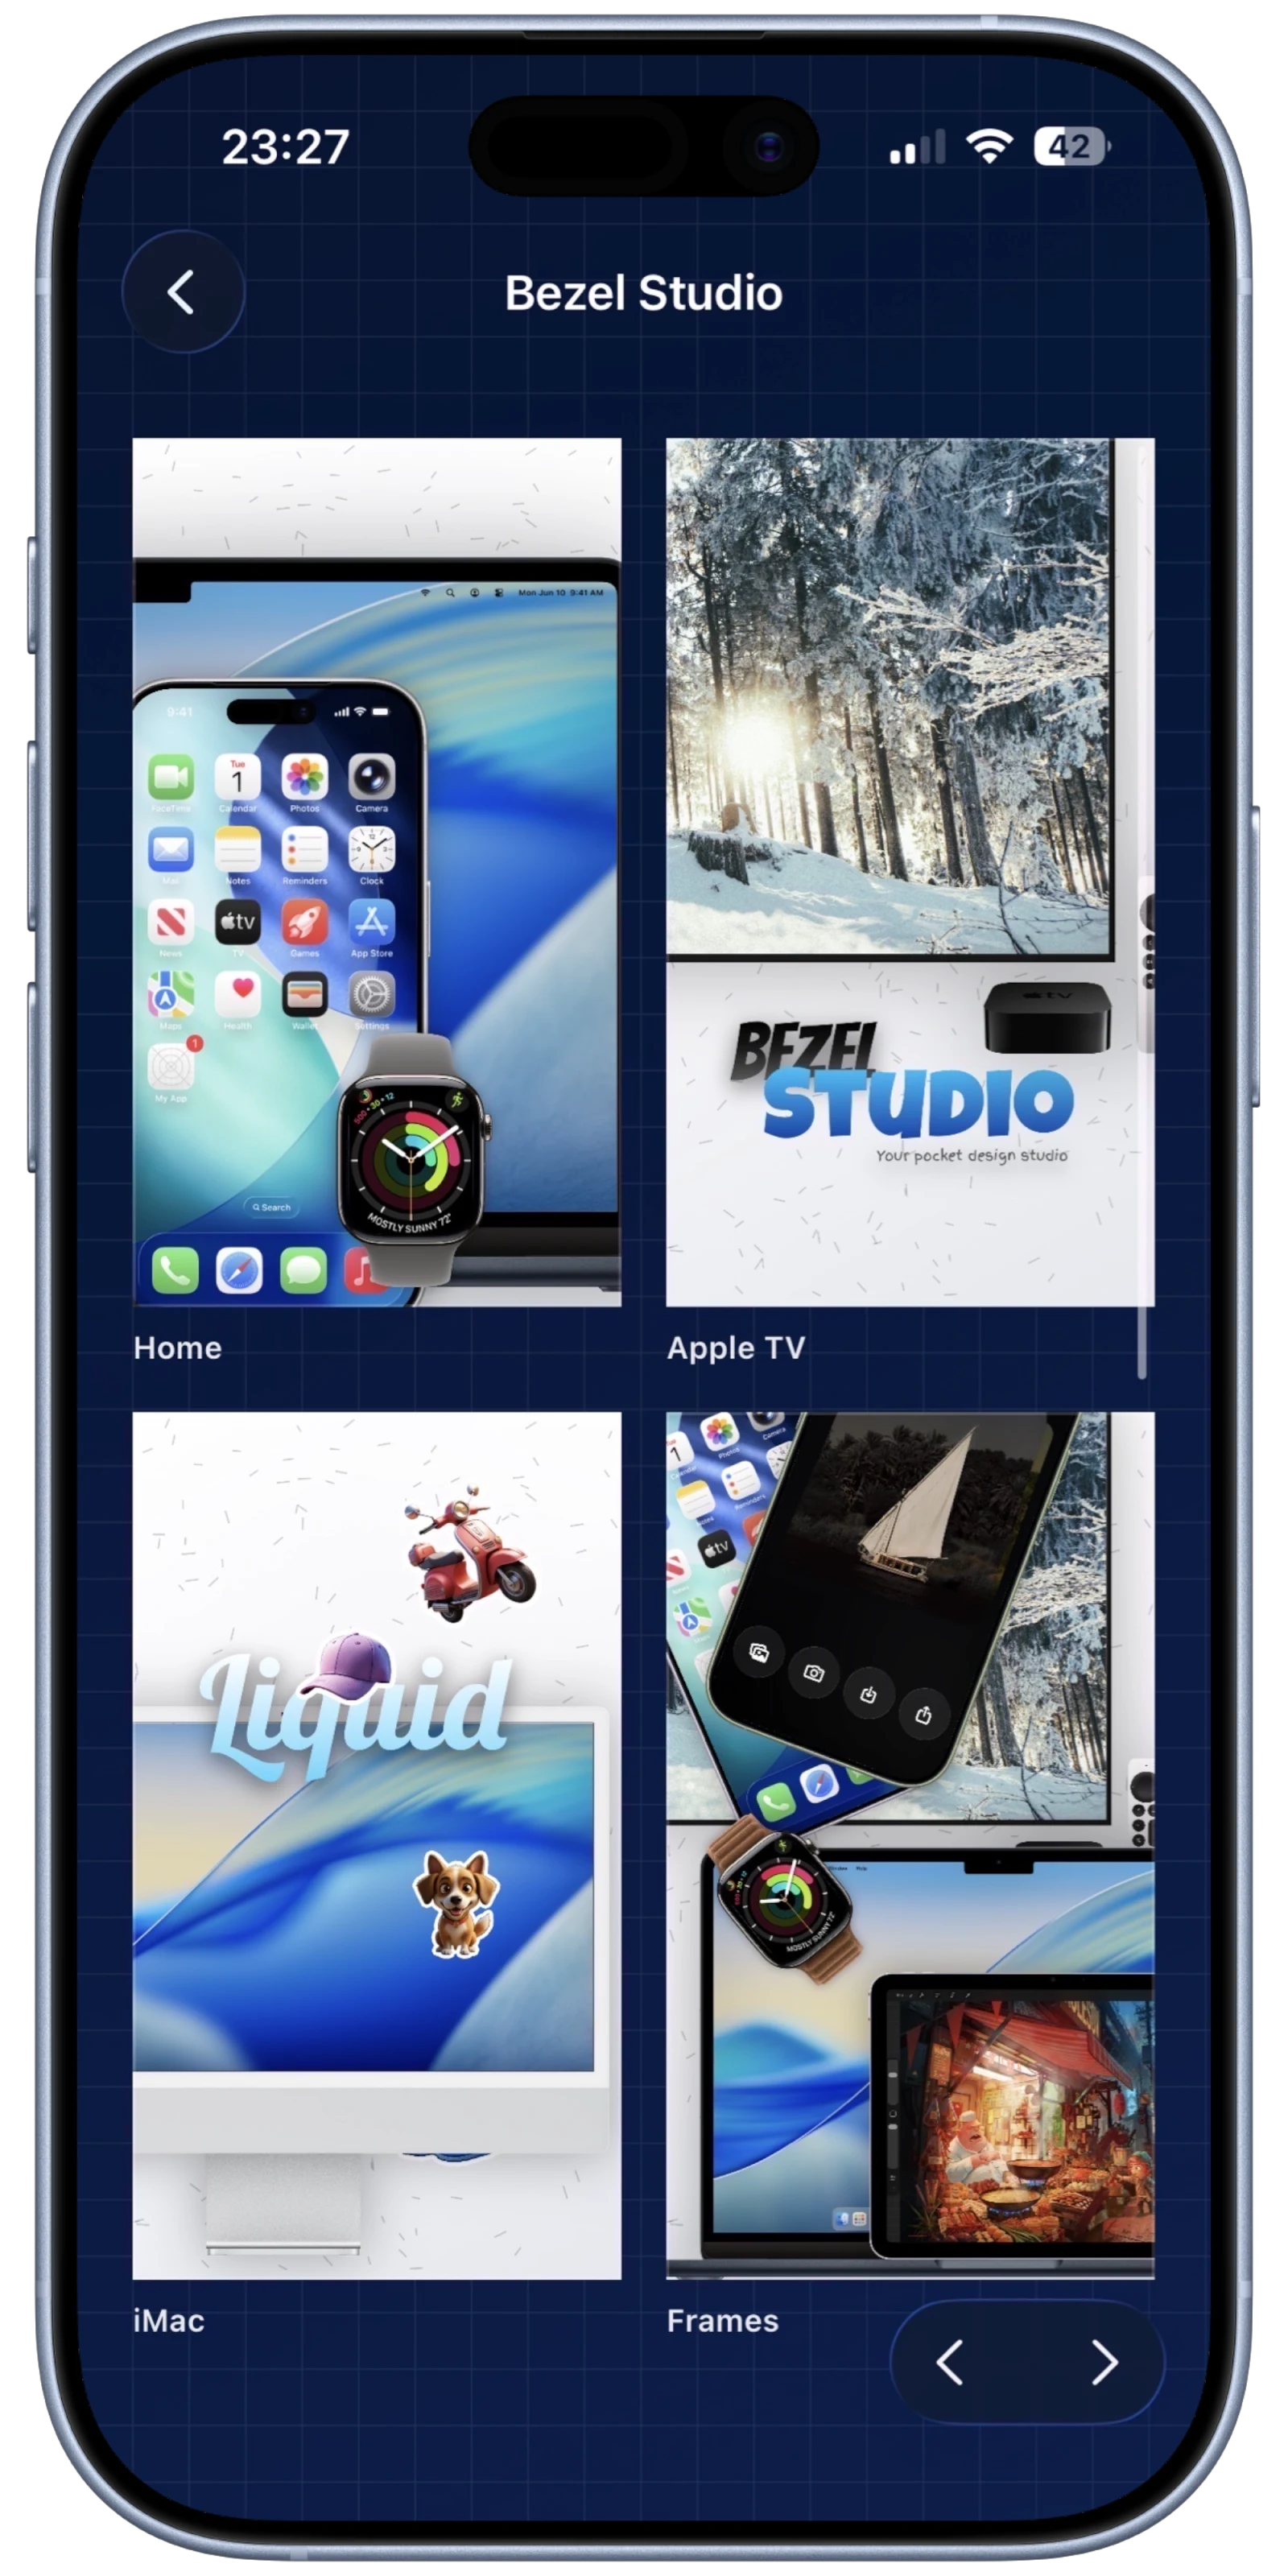
If you want the setup path in the app now, open the screenshot templates feature or install Bezel Studio and keep the same project model inside the product.
Step 01
Create a new project and choose the default frame.
Tap into the project creation flow and choose the Apple device frame you want as the first anchor. For a first tutorial, the iPhone frame is the clearest path because it matches the most common App Store screenshot workflow.
Screenshot To Add
Project creation screen with the default frame picker visible and the iPhone option selected.
Step 02
Set the canvas size and choose the starting background.
Pick a size from presets, aspect ratios, or exact pixels depending on the output you need. Then choose a starting background, whether that is a solid, gradient, transparent canvas, or a more decorative treatment you plan to refine later.
Screenshot To Add
Canvas sizing options and background controls shown together during project setup.
Step 03
Import the screenshot and fit it into the frame.
Place the raw app screenshot into the frame and adjust positioning until the composition looks stable. This is where the project stops being a blank template and starts becoming a usable marketing asset.
Screenshot To Add
The first imported screenshot placed inside the iPhone frame, with fitting or alignment controls visible.
Step 04
Add the headline and supporting copy.
Create a text overlay and write the top-level message for the screenshot. Use a strong font choice, adjust the weight and alignment, and make sure the copy works with the frame instead of crowding it.
Screenshot To Add
Text overlay editor open with the first headline applied on top of the framed screenshot.
Step 05
Refine spacing, hierarchy, and layer placement.
Tighten the composition by nudging the frame, text, and background until the layout feels balanced. If needed, use the layer order so the typography and frame relationship reads the way you want.
Screenshot To Add
Near-final canvas with the text, frame, and background aligned cleanly, plus one visible positioning or layer control.
Step 06
Export the finished still.
Open the export flow and render a final still image. This closes the loop on the first project and sets up the next tutorials, because the same project can now grow into a full screenshot set, localization pass, or motion variant.
Screenshot To Add
Export panel or final exported result shown after the first screenshot project is complete.