How-To Guide 02
How to make a clean iPhone mockup from a raw screenshot.
This is the fast path from a bare app capture to something shareable. It uses the parts of the product that matter most for single-image output: frame placement, background styling, typography, and final export.
What You'll Build
One strong iPhone mockup suitable for social, product launch posts, or App Store marketing.
What You'll Use
Frame overlays, screenshot fitting, backgrounds, text styling, and export.
Screenshot Plan
Use 1 final image, 1 starting canvas image, 4 editing images, and 1 export or share image.
If you want the mockup workflow in the app right now, open the iPhone mockup generator feature or install Bezel Studio and keep building inside the same native editor.
Step 01
Start with a blank canvas or a fresh project.
Open a new canvas with enough space for the frame and headline. The goal here is not a full campaign set, only one image that feels resolved and intentional.
Screenshot To Add
A fresh canvas or newly created project before the screenshot and frame have been added.
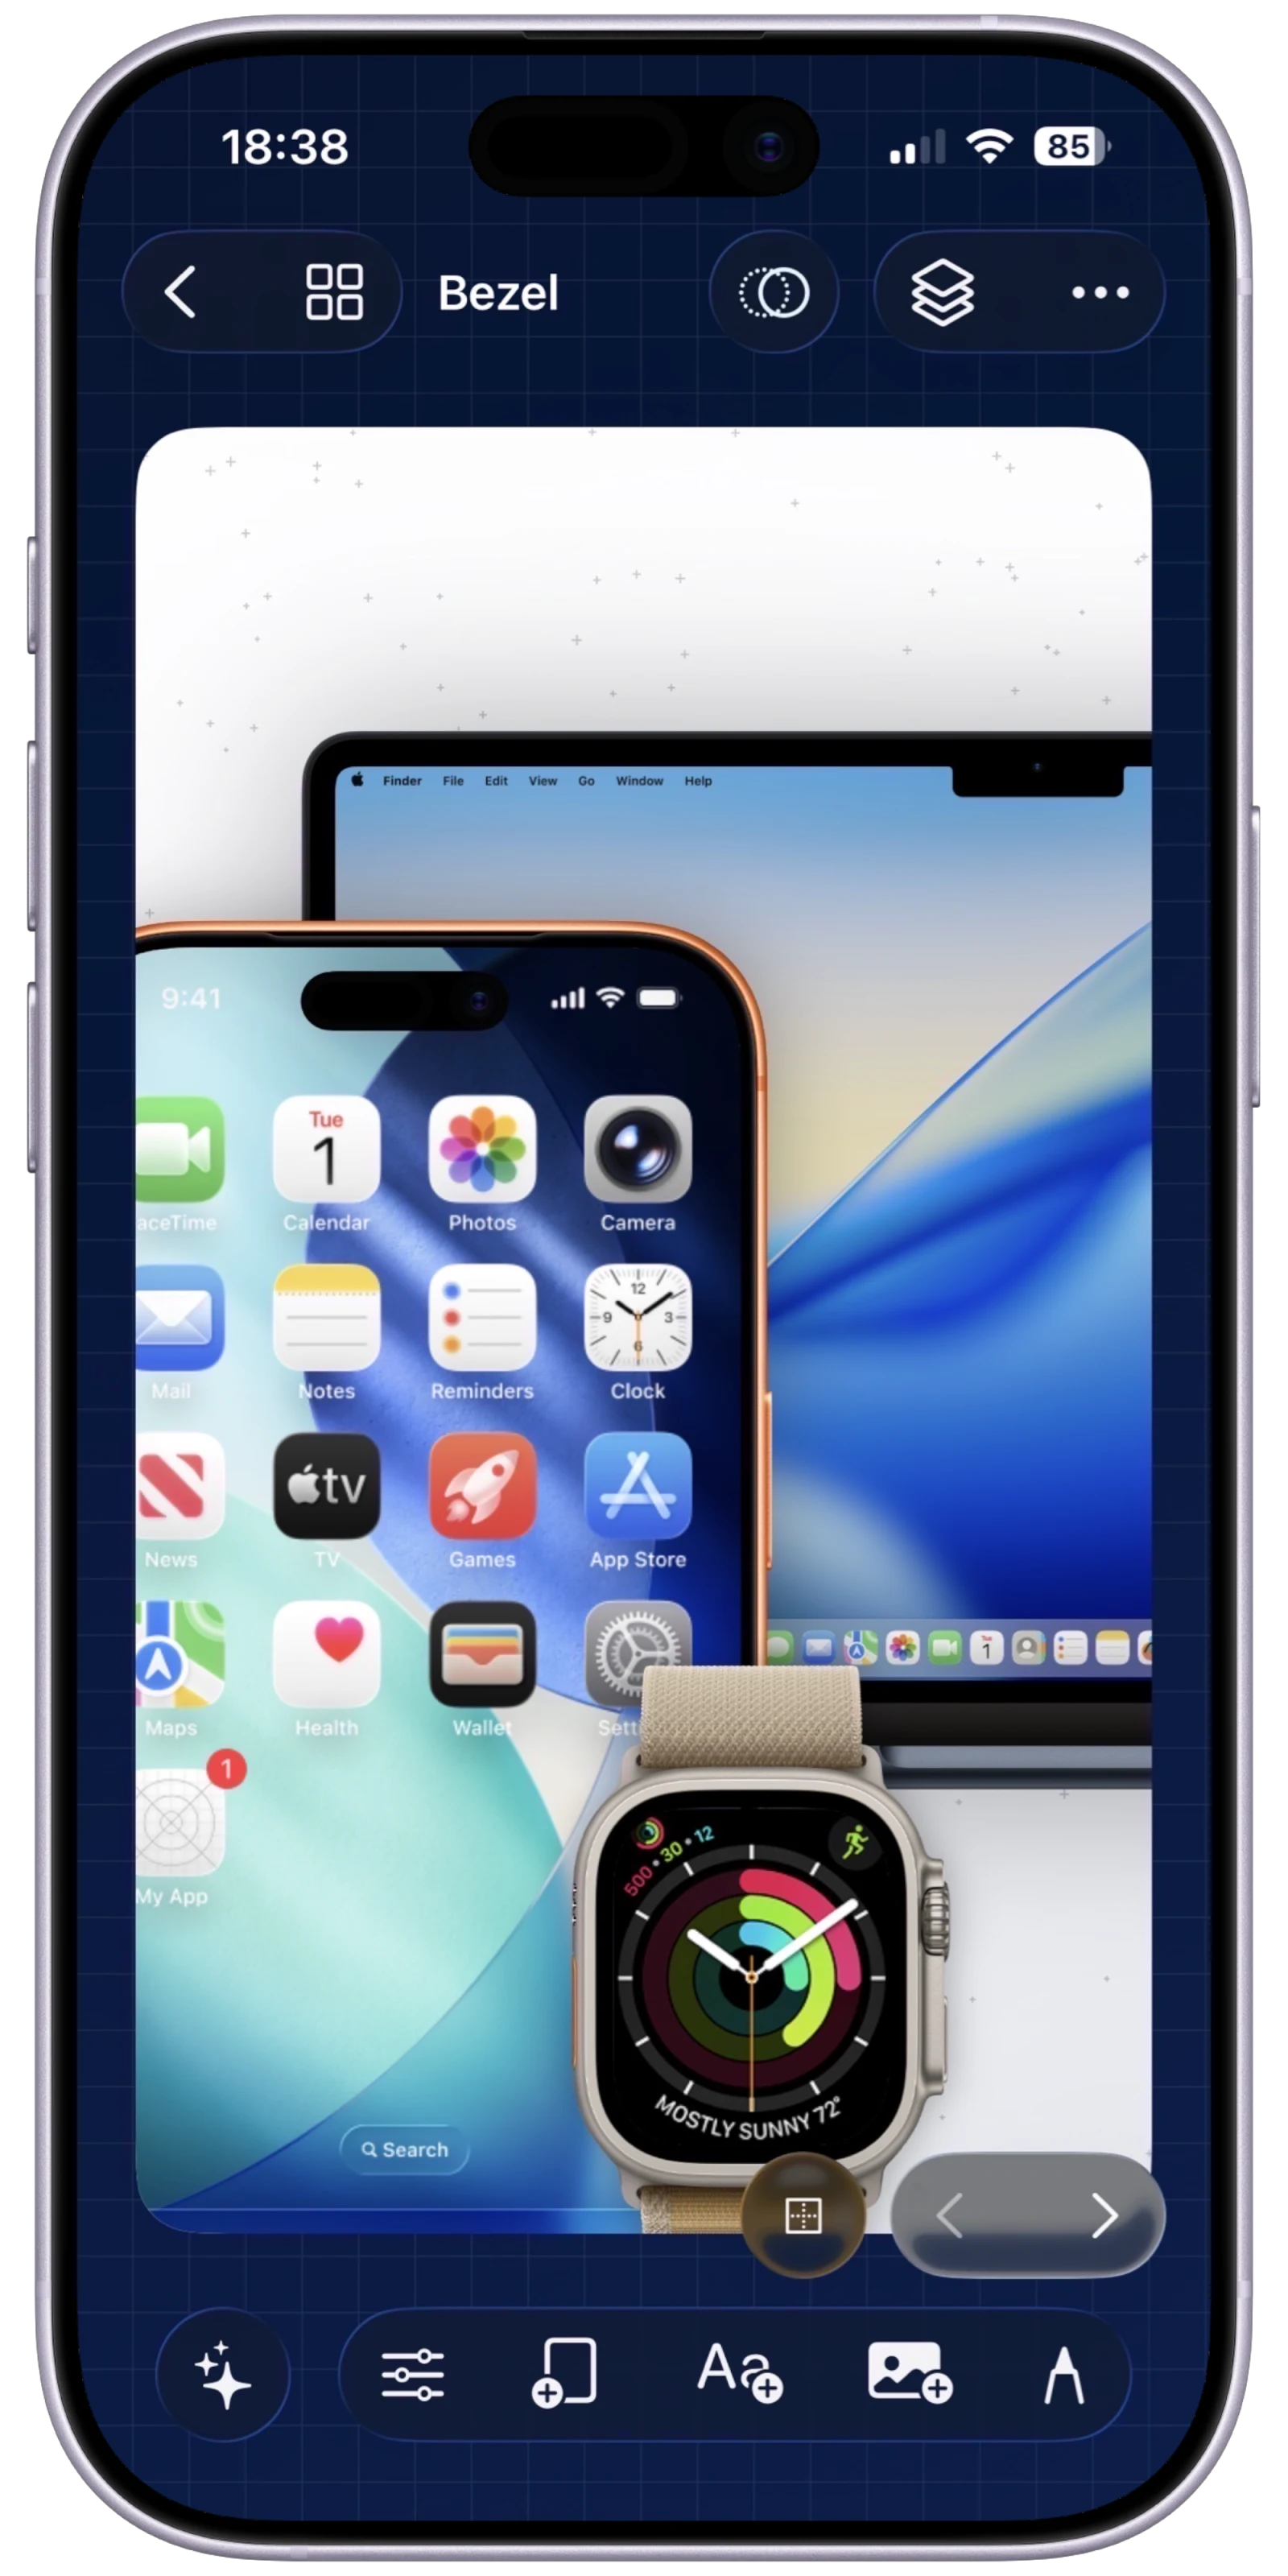
Step 02
Add the iPhone frame and import the screenshot.
Choose the frame you want to use, then insert the raw screenshot so it sits inside the screen opening correctly. This is the moment where the raw product capture becomes a mockup instead of just a screenshot on a flat background.
Screenshot To Add
The iPhone frame on canvas with the screenshot newly placed inside it.
Step 03
Fit and align the screenshot until the framing feels stable.
Adjust the placement so the screen content reads cleanly inside the hardware. The mockup should feel precise, not stretched, cropped awkwardly, or misaligned.
Screenshot To Add
Alignment or transform controls used while fitting the screenshot inside the frame.
Step 04
Choose a background that supports the product instead of distracting from it.
Use a gradient, solid, or patterned background that gives the mockup atmosphere without competing with the app itself. Keep the contrast clean enough that later text still feels readable.
Screenshot To Add
Background styling sheet or a before-and-after canvas showing the chosen backdrop.
Step 05
Add a short caption and refine the visual spacing.
Write the smallest amount of copy needed to explain the image. Then refine the spacing between the frame, text, and edges so the composition feels deliberate rather than centered by default.
Screenshot To Add
Text overlay styling applied to the mockup, with spacing and placement close to final.
Step 06
Export the final still and compare it to the raw input.
Render the polished output and show the difference between the starting screenshot and the final mockup. That comparison makes the tutorial useful because it proves what the app changed, not just what buttons were tapped.
Screenshot To Add
Final exported mockup or a side-by-side before-and-after comparison image.