How-To Guide 11
How to draw callouts and annotations with PencilKit.
Hand-drawn callouts work best when they clarify a feature the screenshot cannot explain fast enough on its own. They should feel editorial and precise, not like emergency markup pasted over the final design.
What You'll Build
A marked-up App Store screenshot that highlights one key feature without obscuring the underlying interface.
What You'll Use
Drawing tools, PencilKit annotations, restrained color, review loops, and export-ready cleanup.
Screenshot Plan
Capture 1 untouched screen, 1 tool-open state, 2 annotation passes, 1 review pass with undo, and 1 final exported screenshot.
Step 01
Choose the moment in the screenshot that deserves a callout.
Pick the feature interaction, setting, or UI detail that is still getting lost. If everything already reads clearly with sticker assets or captions, do not add annotation just because the tool exists.
Screenshot To Add
The untouched screenshot with the future callout target identified but not yet marked.
Step 02
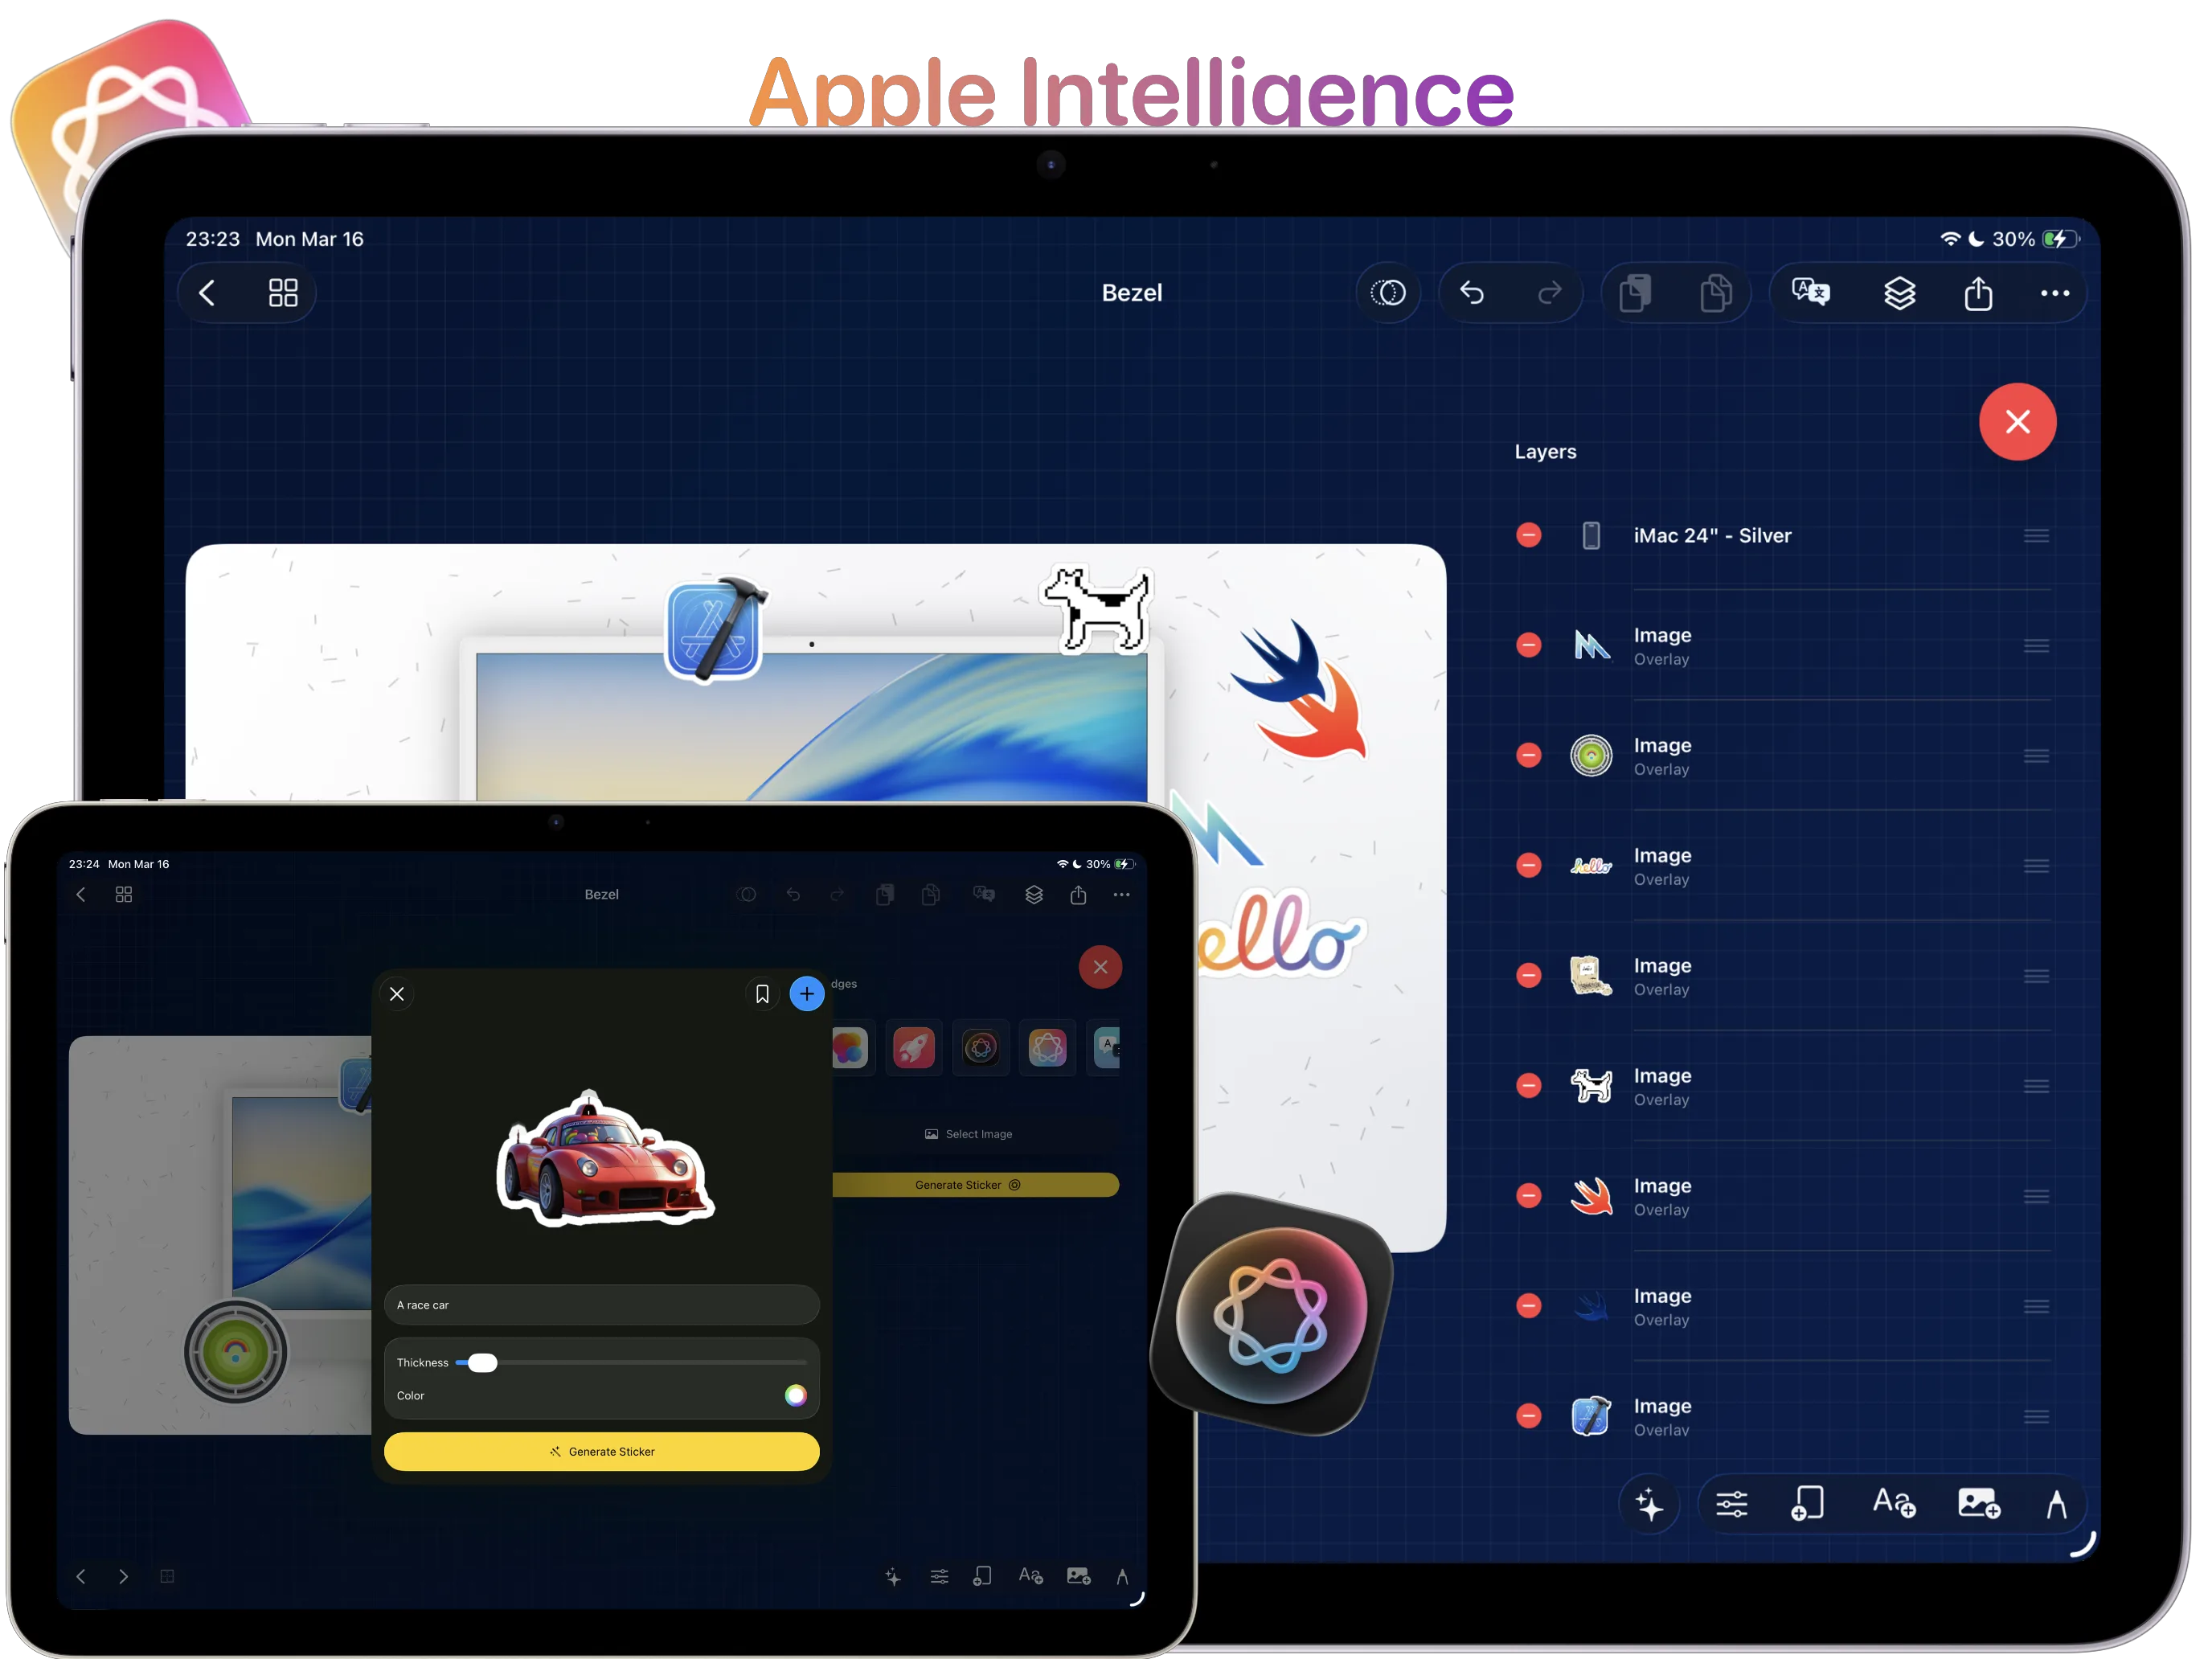
Open the drawing tools and sketch the first annotation.
Start with the tools from the draw and annotate app screenshots feature page. Use one arrow, circle, or underline to prove the point before committing to more marks on the same canvas.
Screenshot To Add
Drawing controls visible while the first annotation is sketched over the screenshot.
Step 03
Use arrows, circles, or underlines with restraint.
Add only the marks that move the eye where you want it to go. If the scene already includes cutout support elements, keep the annotation system lighter than the sticker treatment from the background removal guide.
Screenshot To Add
A screenshot with one or two callout marks placed to direct the reader toward the key feature.
Step 04
Color-match the callout to the rest of the launch system.
Match the ink or stroke color to the caption palette so the annotation feels native to the same campaign. A callout should reinforce the launch art direction rather than look like a note from a review meeting.
Screenshot To Add
A colored callout adjusted to match the existing caption and background system.
Step 05
Review the annotation flow and undo anything that feels noisy.
The quickest fix for over-annotation is to remove marks until the product screenshot breathes again. Use the safeguard from the undo and redo feature page aggressively while you decide which strokes actually help.
Screenshot To Add
A review pass where one or more annotation marks are removed or simplified before export.
Step 06
Export the marked-up screenshot or move it into the delivery pack.
Once the callout adds clarity without overpowering the screen, send it into the export guide so the same annotated scene can become part of the final still-image or preview-video pack.
Screenshot To Add
The final annotated screenshot shown in its export-ready state.