How-To Guide 06
How to make instant mockups with Quick Mockups and Shortcuts.
This is the fastest workflow in the docs. Quick Mockups are stored canvas presets, and Shortcuts can feed them an image or movie so the app can generate a finished mockup without opening a full editing session first.
What You'll Build
A reusable quick mockup preset that can turn a screenshot or recording into a finished visual through Shortcuts.
What You'll Use
Quick Mockups, saved presets, Shortcuts/App Intents, and final output to Photos or files.
Screenshot Plan
Use 1 final result image, 1 preset setup image, 3 shortcut flow images, 1 generation image, and 1 saved-output image.
Step 01
Create the quick mockup preset first.
Build a preset with the single frame and visual treatment you want to reuse repeatedly. The article should make clear that this preset is a stored canvas state, not a completely different system.
Screenshot To Add
Quick Mockup preset setup or editing screen with the saved mockup visible.
Step 02
Open the Quick Mockups list and confirm the preset is ready.
Show the preset in the quick mockup library so the reader understands where reusable templates live before Shortcuts uses them.
Screenshot To Add
Quick Mockups list with the preset named and ready to be selected.
Step 03
Build or open the Shortcut that feeds the preset.
Set up the Shortcut or App Intent flow so a screenshot or movie can be passed into the quick mockup preset. This is where the tutorial should show that the automation path is a real product workflow, not a separate export script.
Screenshot To Add
Shortcut flow or App Intent setup referencing the chosen Quick Mockup preset.
Step 04
Pass in a screenshot or screen recording as input.
Use the Shortcut with a real piece of source media. The guide should show one clean input example so the automation feels concrete and not abstract.
Screenshot To Add
A Shortcut run with one screenshot or recording selected as input.
Step 05
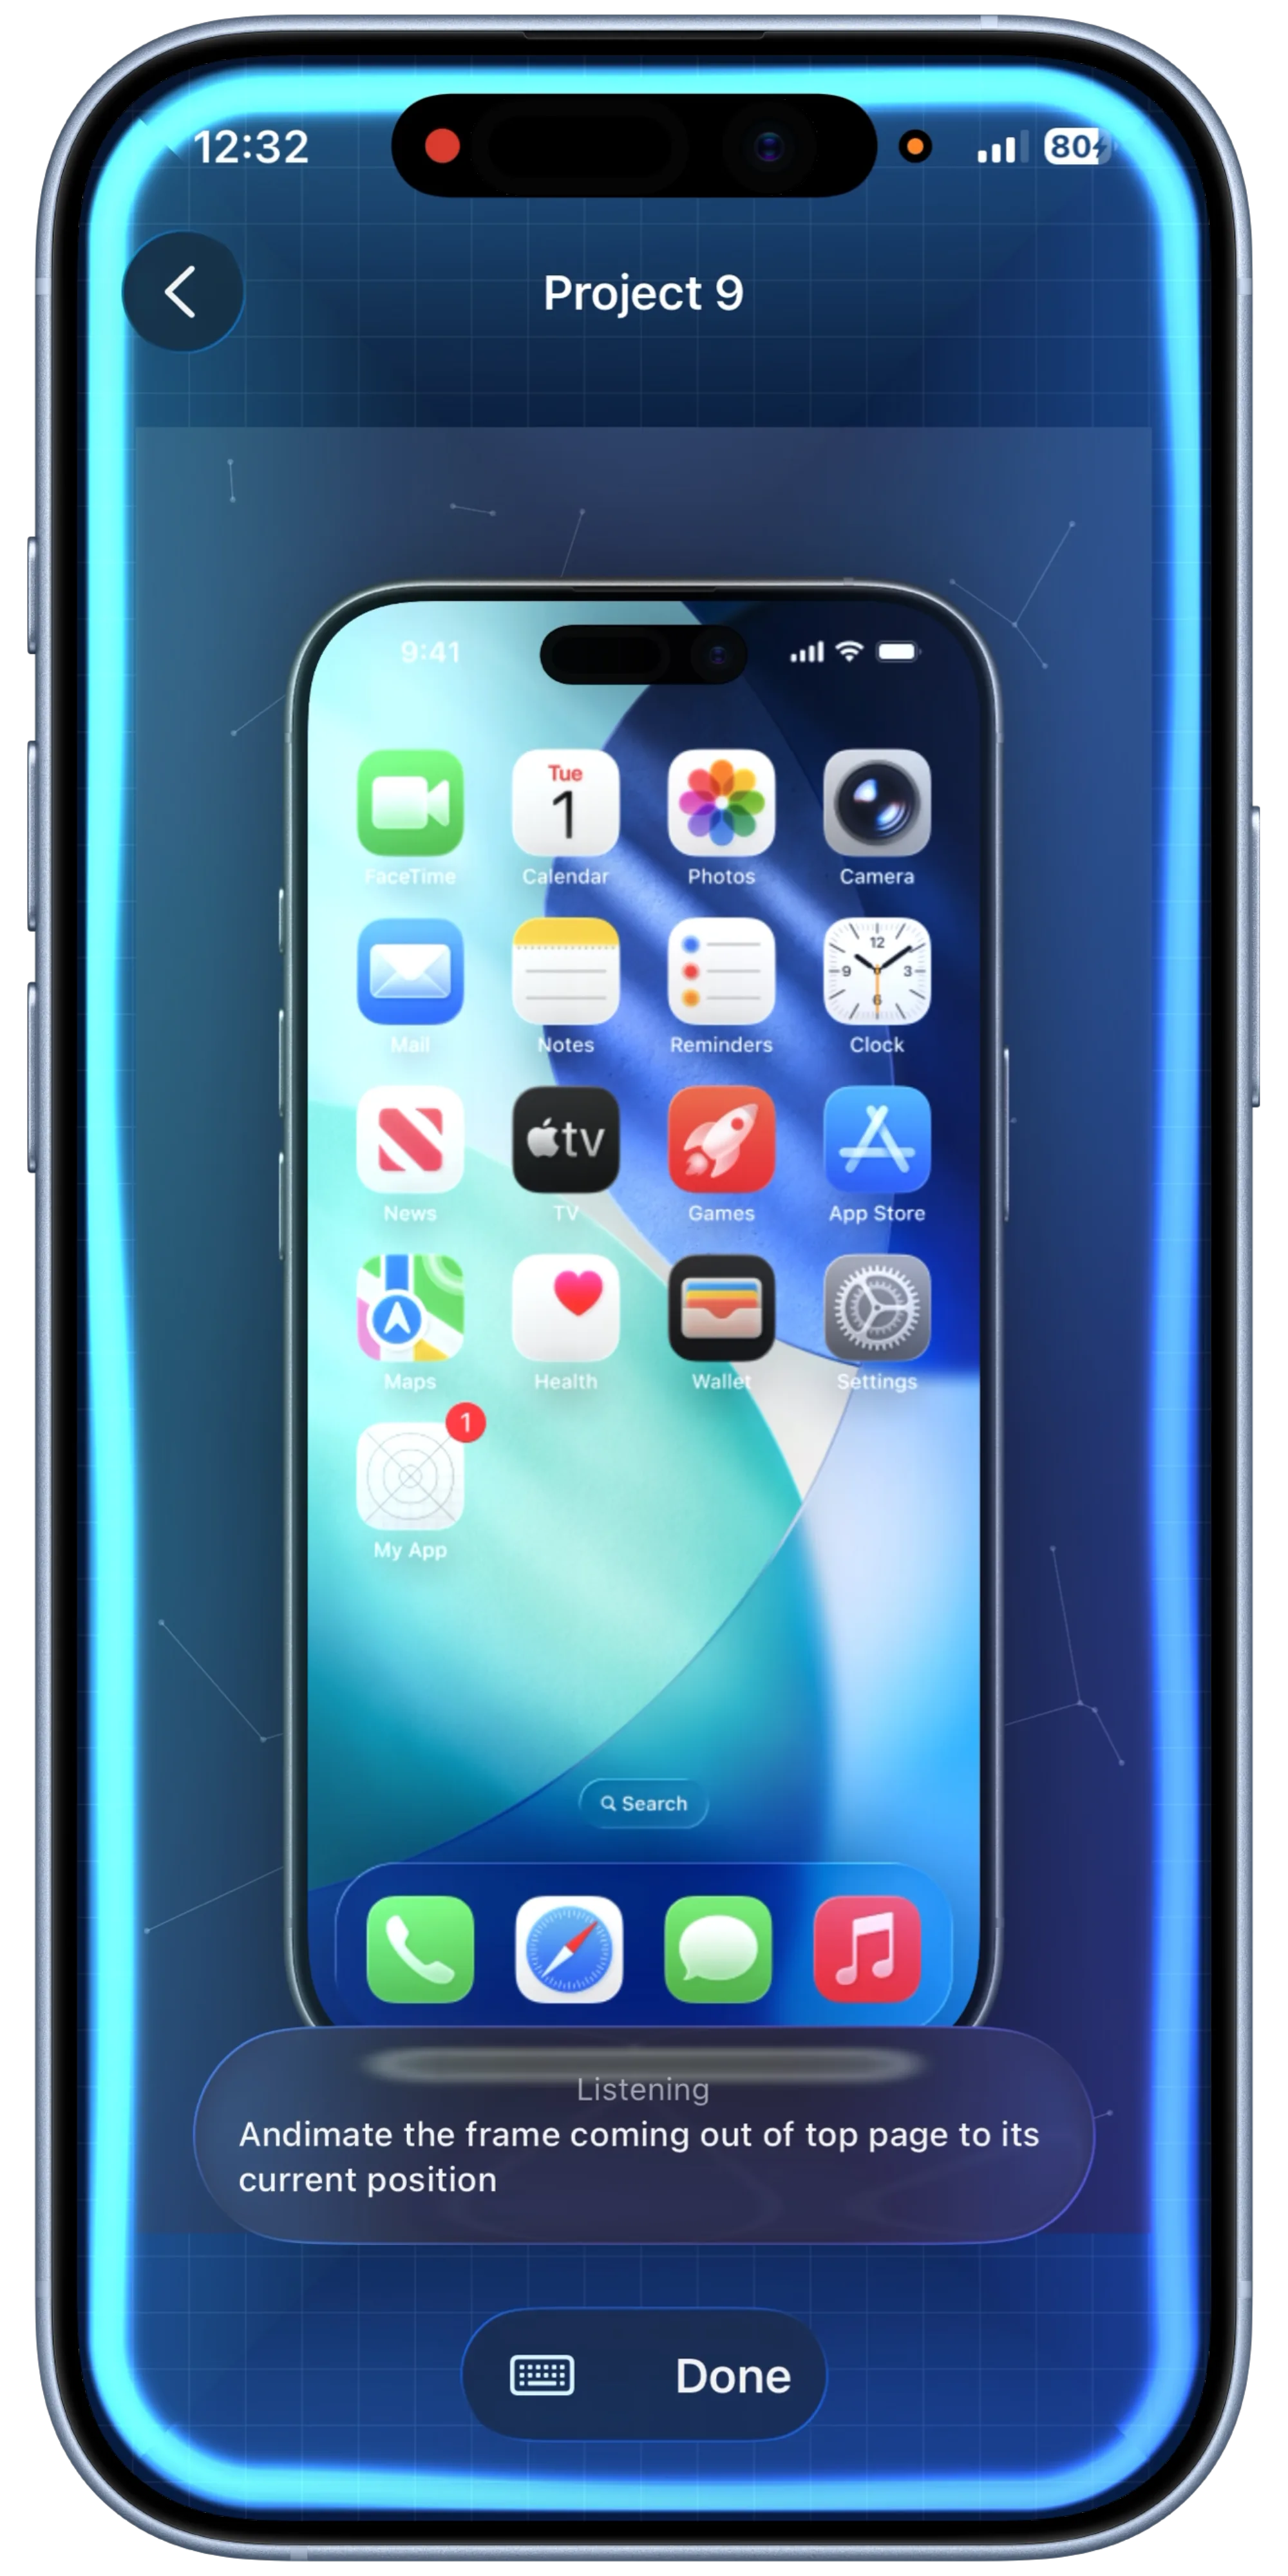
Generate the mockup automatically.
Run the workflow and show the preset rendering the final result. This step should make the speed advantage obvious compared to a full manual session.
Screenshot To Add
The quick mockup generation result appearing after the Shortcut finishes.
Step 06
Save the output and reuse the preset again later.
End by saving the result to Photos or files and note that the same preset can now be reused repeatedly. That reinforces the value of presets and automation for developers or marketers shipping often.
Screenshot To Add
Finished mockup saved or ready to share after the automated workflow completes.